Documentation Makes or Breaks Your Water Damage Claim
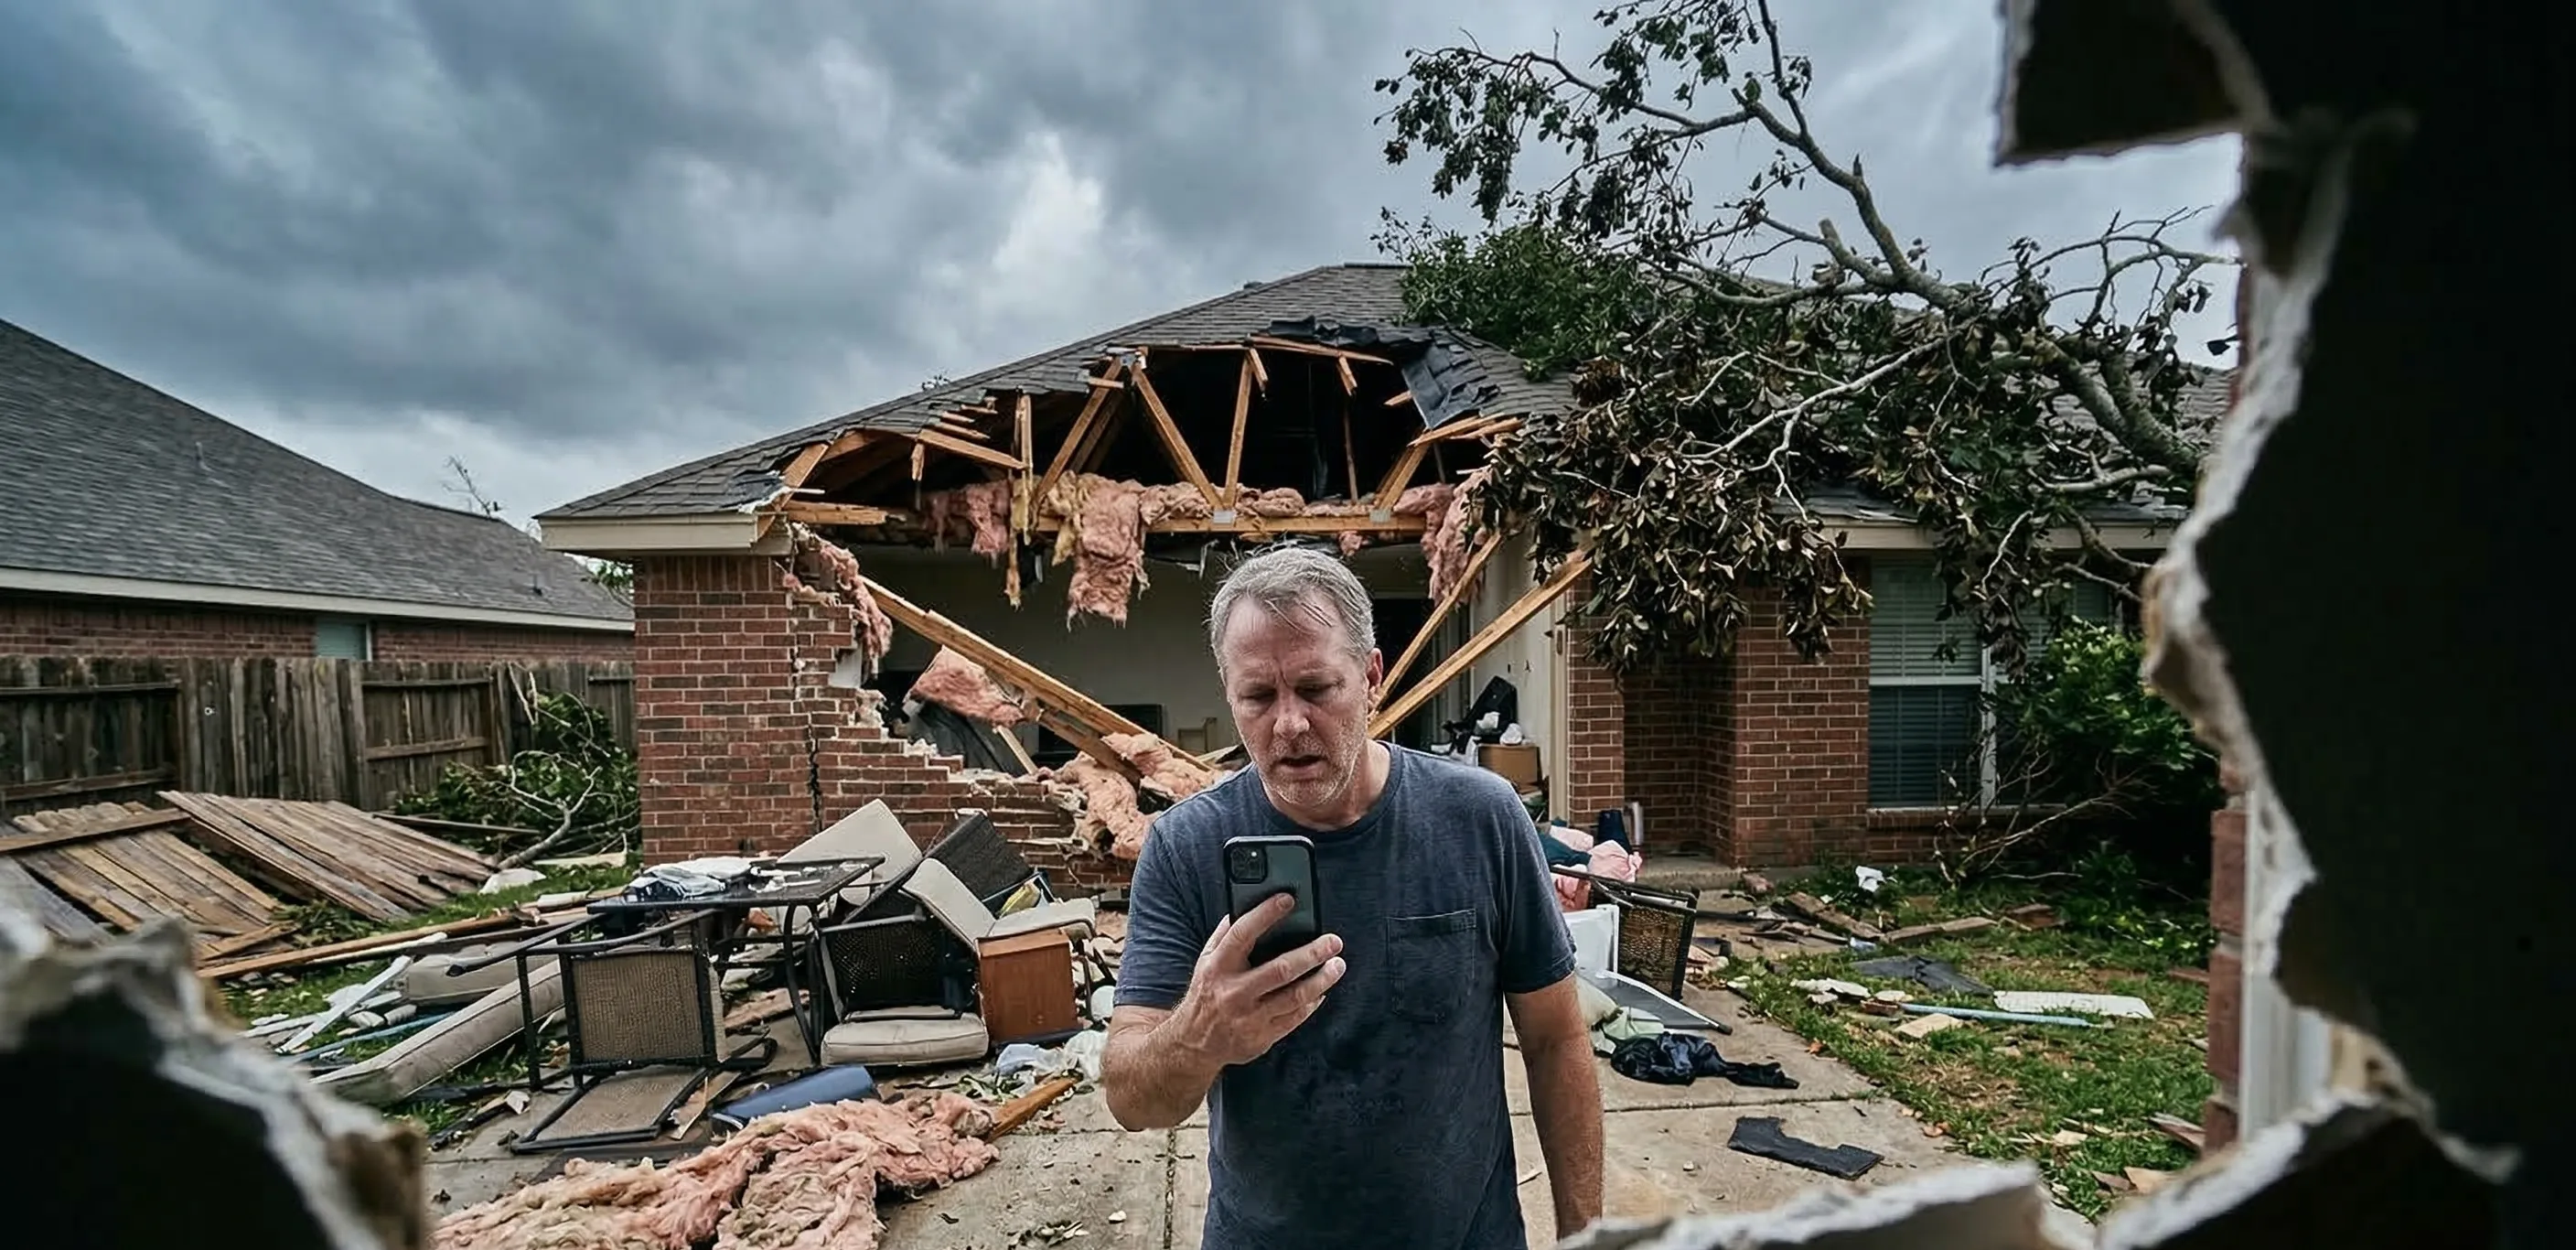
Water damage is one of the most common types of homeowner insurance claims, and it is also one of the most frequently disputed. Insurance companies routinely challenge water damage claims by questioning the source of the water, the timeline of the damage, and whether the policyholder took adequate steps to mitigate the loss. The single best defense against these challenges is thorough, organized documentation from the moment you discover the damage.
Having handled hundreds of water damage claims as a licensed public adjuster, I can tell you that the difference between a $5,000 settlement and a $50,000 settlement often comes down to documentation. The homeowner who takes 200 photos and keeps meticulous records will almost always fare better than the homeowner who takes 10 photos and throws away damaged materials before the adjuster arrives.
Step 1: Stop the Water Source If Possible
Before you begin documenting, stop the flow of water if you can safely do so. Shut off the main water supply if the damage is from a plumbing failure. If the water is entering from outside due to a storm, do what you can to redirect or contain the flow. Your policy requires you to take reasonable steps to prevent further damage, and failing to do so can give the insurer a reason to reduce your claim.
However, and this is important, take photos and video of the active water damage before you stop it if at all possible. Capturing the water flowing, the leak actively dripping, or the flooded room in its worst state provides powerful evidence of the severity and source of the damage.
**Pro Tip for Industry Professionals:** Plumbers and mitigation crews often "destroy the evidence" while stopping the leak. Mandate that your vendors take macro isolation shots of the failed pipe segment *in situ* before removal to prevent the carrier's subrogation department from denying the claim based on "spoliation of evidence."
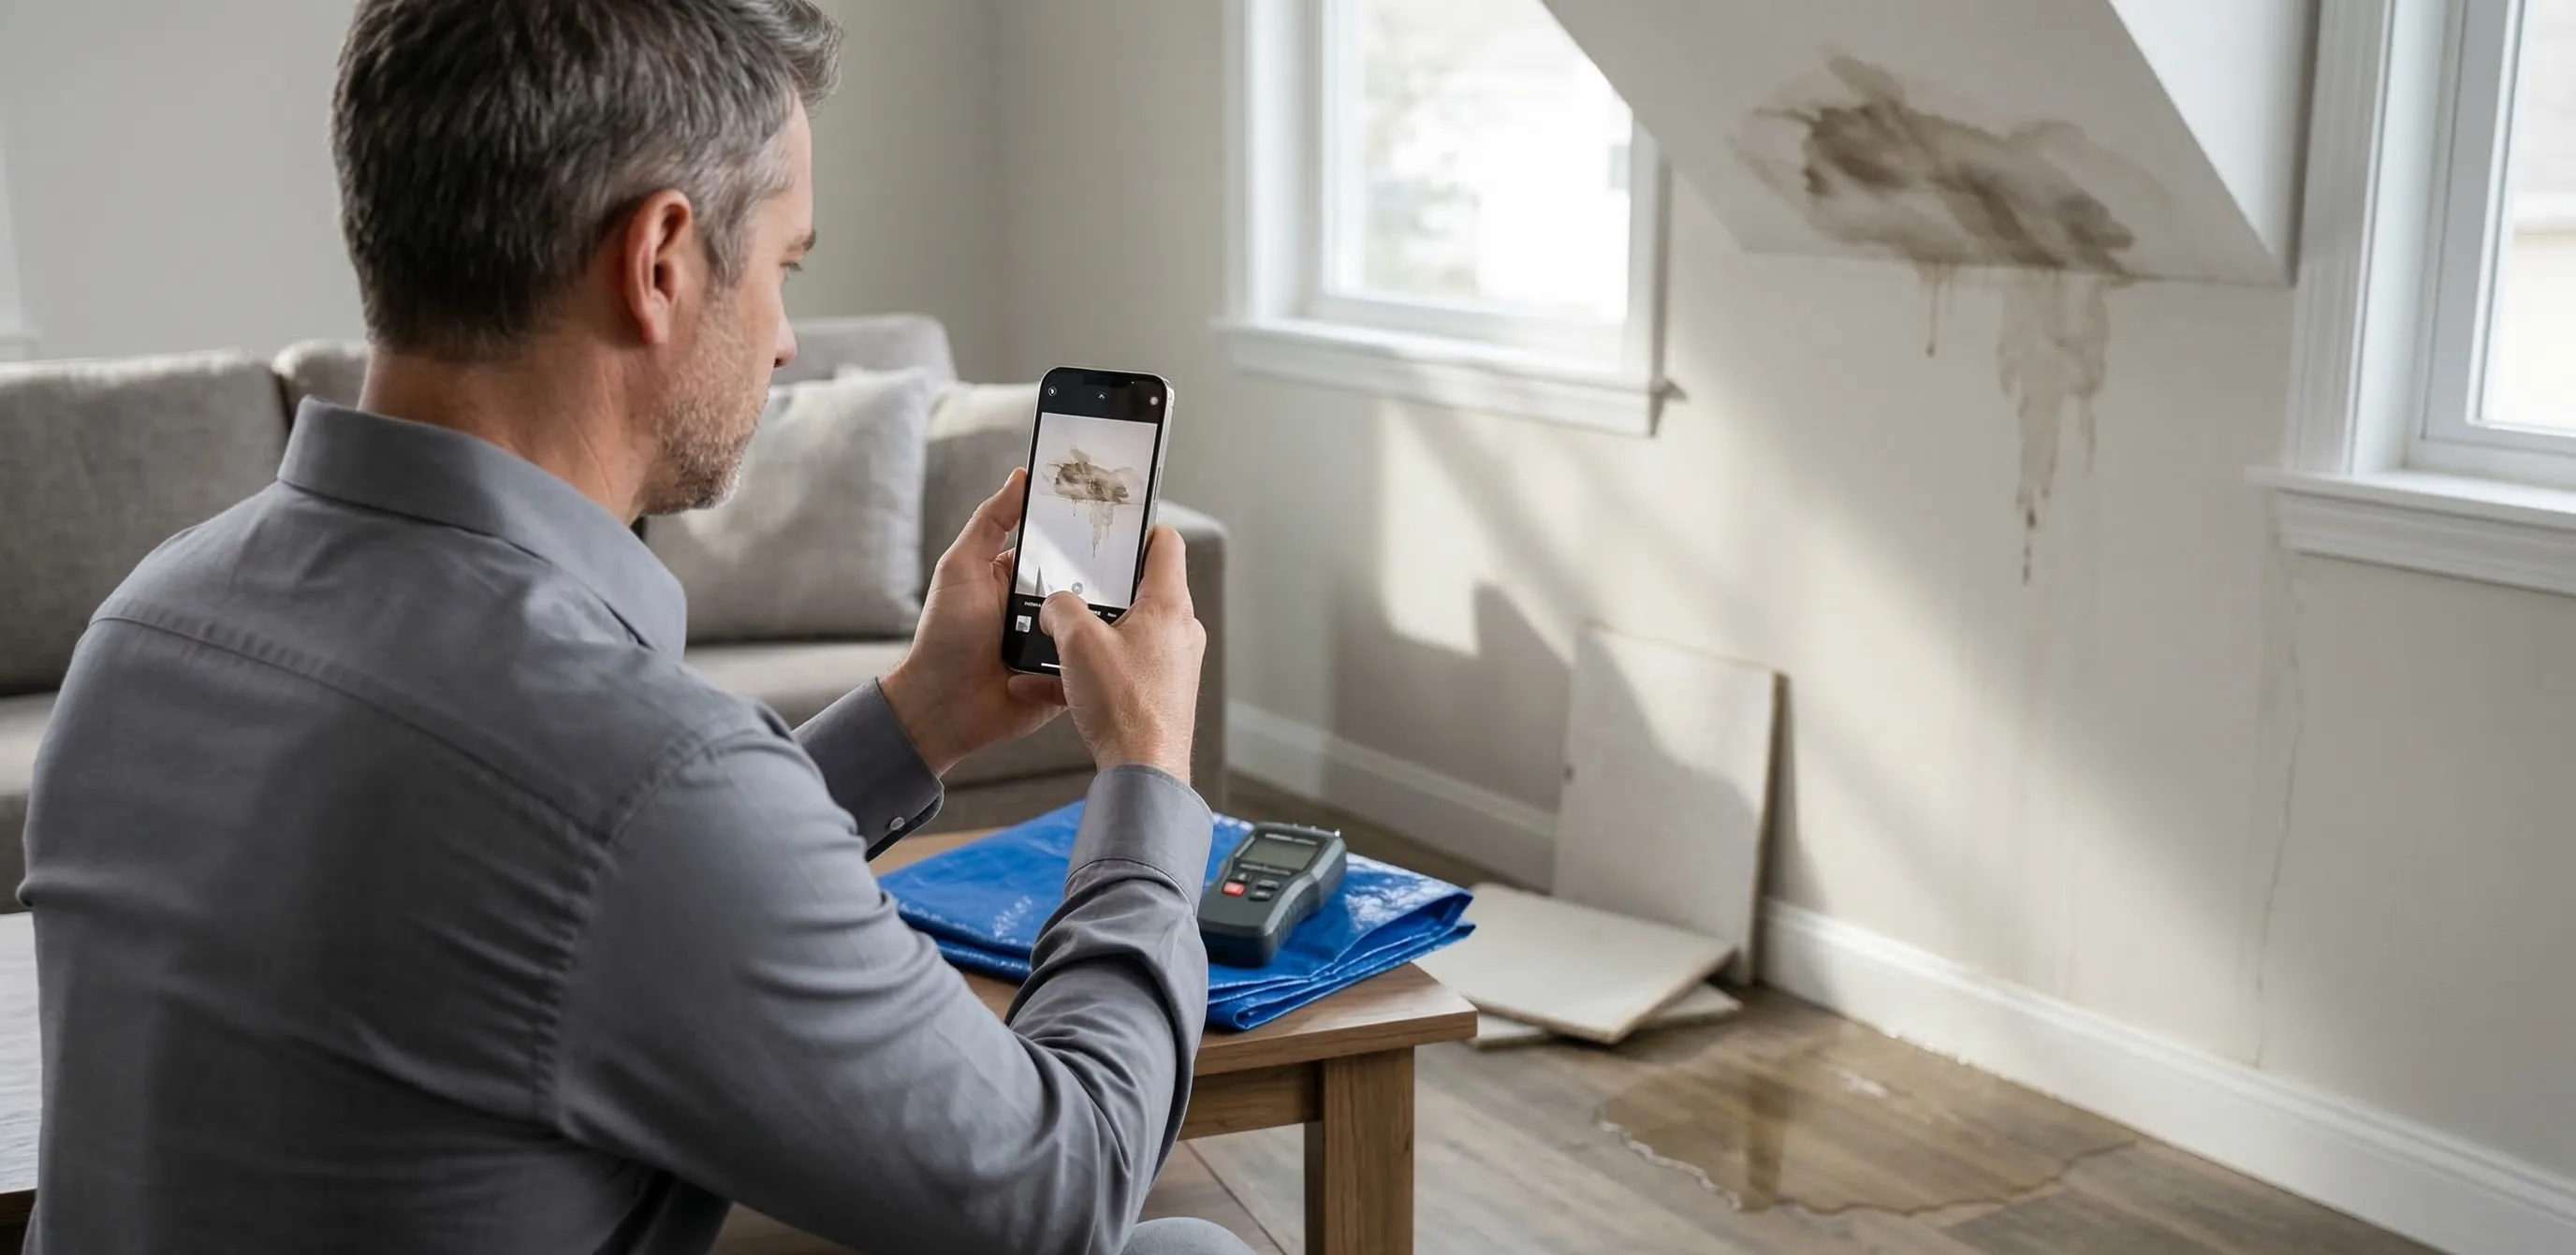
Step 2: Photograph and Video Everything
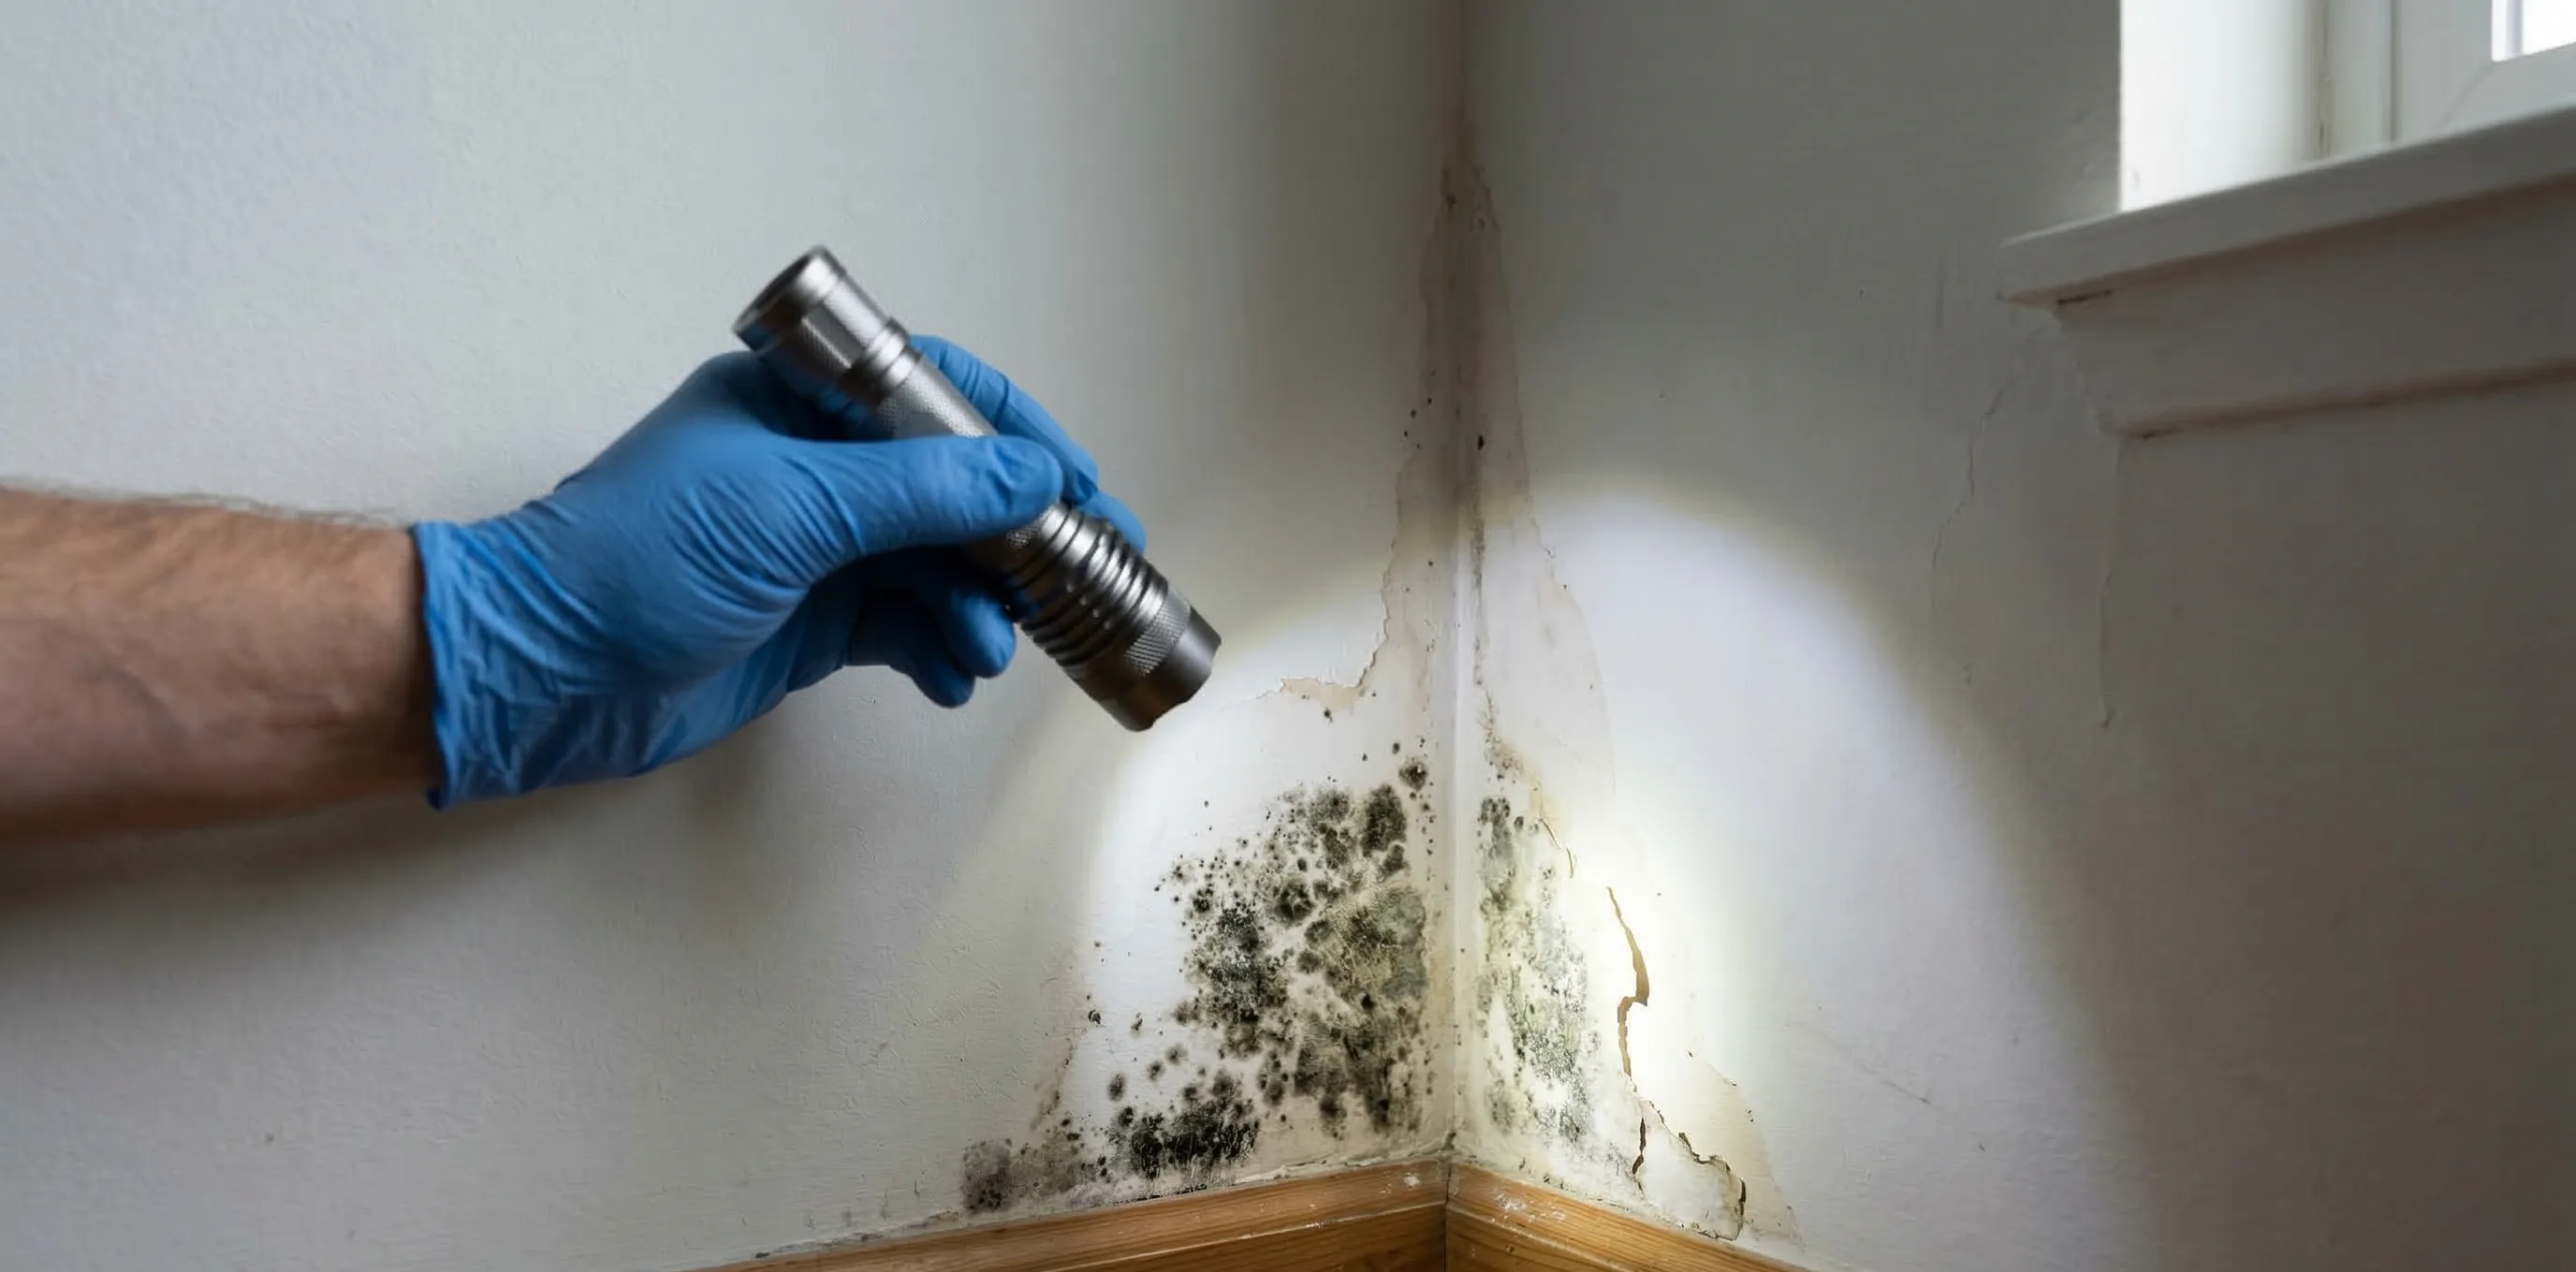
Use your smartphone to create a comprehensive visual record. Start with wide shots of each affected room from multiple angles. Then move to medium shots showing specific walls, floors, or ceilings with visible water damage. Finally, take close-up shots of staining, warping, bubbling, peeling, or discoloration on walls, baseboards, flooring, and ceilings.
Photograph the source of the water if identifiable, such as a burst pipe, a failed water heater, or a point of entry in the roof. Take photos of your water meter, which can help establish the timeline of a slow leak. Photograph adjacent rooms and areas that may not appear damaged yet but could have been affected by water migration through walls and under flooring.
Record video walkthroughs with narration. Describe what you are seeing, where the water is coming from, and what has been damaged. Video captures details that photos sometimes miss, and your verbal description creates a contemporaneous record of the event.
Step 3: Measure and Map the Damage
Insurance estimates are calculated based on measurements, so the more precise you can be, the better. Use a tape measure to record the dimensions of affected areas: the length and height of damaged walls, the square footage of damaged flooring, and the size of ceiling stains or damage.
If you have access to a moisture meter, use it to identify areas with elevated moisture levels that may not yet show visible damage. Water can travel significant distances through walls, under flooring, and along structural members, causing damage that is not immediately apparent. A professional water mitigation company will conduct moisture mapping with specialized equipment, and you should request a copy of their moisture readings for your claim file.
**Pro Tip for Industry Professionals:** Submit thermal imaging combined with pin-probe or non-destructive moisture meter readings explicitly mapped onto the floor plan. Insurers cannot argue subjectively against quantitative elevated moisture point data (e.g., standard drywall moisture equivalents showing > 15% WME beyond the "visible" stain).
Step 4: Create a Detailed Inventory of Damaged Property
Beyond the structure itself, water damage often destroys personal property: furniture, electronics, clothing, books, and more. Create a room-by-room inventory of every damaged item. For each item, record the description, approximate age, original purchase price if known, and the estimated replacement cost.
Photograph each damaged item individually. If items are grouped together, such as a closet full of damaged clothing, photograph them spread out so the adjuster can see and count individual items. Do not discard damaged personal property until the insurance company has had a chance to inspect it or your public adjuster advises that it is acceptable to do so.
Step 5: Keep Records of All Expenses and Communications
From the moment you discover the water damage, start a claim journal. Record every phone call with your insurance company, including the date, time, the name of the person you spoke with, and a summary of the conversation. Follow up phone conversations with emails that summarize what was discussed, creating a written record.
Save every receipt for mitigation expenses: water extraction, dehumidifier rental, hotel stays if you are displaced, meals, emergency plumbing repairs, and any other out-of-pocket costs. These are typically covered under your policy and should be included in your claim. Organize these receipts chronologically in a folder, either physical or digital.
Common Water Damage Claim Pitfalls
The most common mistakes homeowners make with water damage claims include waiting too long to report the damage, failing to mitigate by allowing water to sit, discarding damaged materials before inspection, admitting to the insurance company that the damage occurred gradually or over time, and not reading their policy to understand coverage limitations for water damage.
Insurance policies differentiate between sudden and accidental water damage, which is typically covered, and gradual or maintenance-related water damage, which is often excluded. Be factual in your descriptions but do not volunteer opinions about the timeline. Let the evidence speak for itself, and let your public adjuster handle the narrative with the insurance company.